

USB4 Driver Upgrade Instructions
1. Unplug any attached USB4 device.
2. From the Windows Start menu, run Add or remove programs and remove USB4 Device Software x.xx and USB4 Drivers X64 x.xx.
4. Once the software and drivers have been uninstalled, run the latest USB4Setup_x.xx.msi install program.
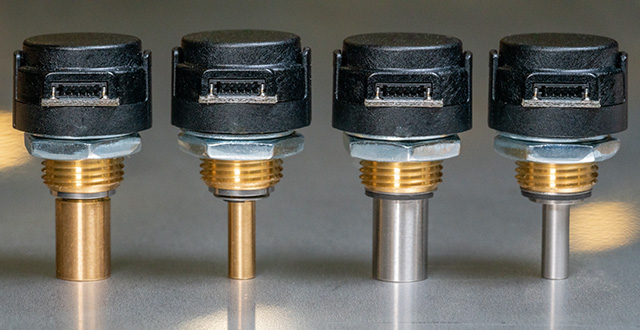
5. Plug in the USB cable to a USB4 device and ensure the power cord is also plugged in.
6. To confirm operation of the device, run the USB4_VBDemo program and ensure the Time Stamp field is updating.
To view the Cypress driver version used by the USB4 device, open the Device Manager and expand the Encoder Interface node and then double-click on the US Digital USB4 full functional node. Click on the Driver tab and view the Driver Version. The USB4 Drivers and Libraries READ MORE (Read me file) identifies the latest Cypress driver used. cyusb3.sys x.x.x.x